Login
What is a login component?
A Login component is a System Component that, when added to a page or layout, creates a form for users to enter their credentials and login to your app.

You can customize the appearance, features, and security permissions of each login component to create your ideal login experience for your users.
From the front end, the required credentials to log in to your app are the user’s email and password.

Credential values are stored in the Default User Data Table in the Data Builder and be created and updated by users on the live app via the Sign Up and Profile system components.
Default login page
For your convenience, each app comes with a built-in default login page that already includes a login component. This default login page can be found at the top of your app's list of layouts and pages with the other two default pages, the default profile page and the default signup page.

Default profile, login, and signup pages are similar to regular pages except that they were built-in to each app for your convenience to save you the time of having to create these basic pages from scratch. These default pages can not be deleted, however they can be edited and customized to your specific needs. Additionally, you can create new login, sign up, and profile pages by adding login, profile, and signup components to any page.
You can enable users to access the default login page with either one of two ways:
Let's discuss these two methods of enabling users to access the default login page.
Via the user menu
You can add a User Menu system component to your app to enable users to access the default login page. The user menu is dynamic to logged-in user status and the login link on the user menu will only show if the user is not logged in. If the user is logged in, the Login link will not show on the user menu.

Please click here to learn more about the User Menu system component.
Via a menu
Additionally, you can enable users to access the default login page by adding a link to the default login page to a menu system component. This method is very similar to adding a user menu to your app, and you can browse the user menu system component and the menu system component articles to determine which method better suits your app needs.
Please click here to learn more about the menu system component.
Adding login components
Additionally, you can create a new login page by adding a login component to the page/layout.
To add a login component to a page or layout, you can add it within an existing column, similarly to how you would add any other component. You can then select the Login component from the list of System Components and it will be added to your selected column.

Customizing login components
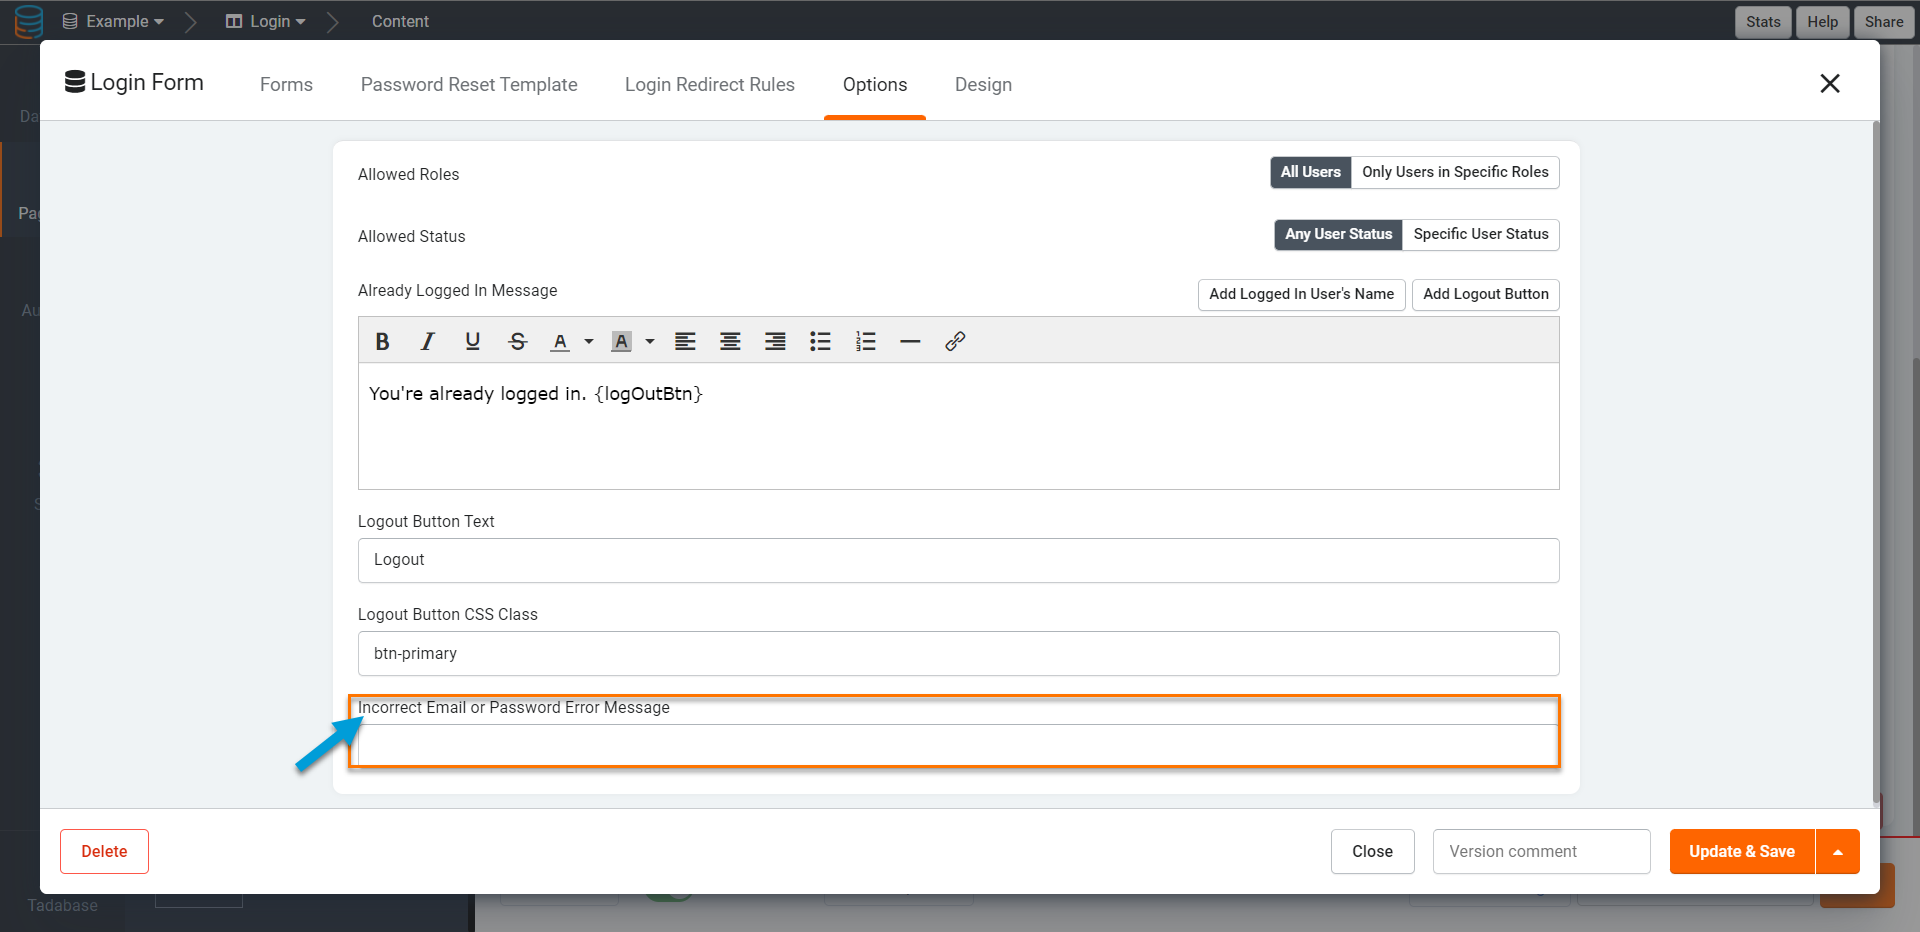
To configure a login component, click on the component within its column on the page/layout in the Page Builder. A new window will pop up for you to configure your login component with various settings, as illustrated in the image below.

You can customize the following settings to configure your login component:
- Allowed Roles
- Allowed Status
- Already Logged in Message
- Logout Button Text
- Logout Button CSS Class
- Incorrect Email or Password Error Message
Let's define each of these five login component settings.
Allowed Roles
Determine whether all users or only specific user roles can log in to your app through this login component. At default, this setting is set to All Users, meaning users assigned to any/all user roles can login via this login component.
To restrict this login component to login only specific user roles, select the Specific User Role option and add allowed roles by selecting them from the Add Role dropdown list.

Click here to learn more about user roles.
Allowed Status
Determine whether all user statuses or only specific user statuses can log in to your app through this login component.
User status values are contained in the Status Field within the Default Users Data Table in the Data Builder of the given app.

At default, the Allowed Status setting is set to All Statuses, meaning users with any/all user statuses can login via this login component.
To restrict this login component to login only users with a specific user status, select the Specific User Status option and add allowed statuses by selecting them from the Add Status dropdown list.

The dropdown list will display status values retrieved from the Status Field in the Default Users data table of the given app. Click here to learn more about the User Status field in the Default Users data table.
You can customize the message that will appear when a user tries to login with a status that is not defined as allowed. See further down for more details.
Forgot Password Link

This option creates a "Forgot Password?" link on the live app for users to click if they have forgotten their passwords and would like to reset their passwords.

If you wish to display a forgot password link on your live app, you must select a "Forgot Password Link" in the Forms tab of the settings.
Forgot Password Template is where you can configure the Forgot Password email template that will be sent to your users who click on the Forgot Password link.

The Forgot Password email template is ready to be sent as-is with pre-defined logged-in user field values, however you can choose to personalize the email wording if you wish. The Forgot Password email template will provide users with a unique code for them to input on the live app in order to reset their passwords from the live app.
The following logged-in user field values are pre-defined and already included in the email template:
{appName} = The name of your app
{name} = The name of the user requesting a new password
{code} = The code the user needs to enter to reset the password
Please note that forgot password/password reset emails sent from your app will default to using the "Default From Name" and "Default From Email" within your email settings. If your email settings are not defined, emails sent from your app will appear as coming from the hello@tadabase.io email address. You can edit your email settings by clicking on the Settings tab of the Builder Navigation Bar > Email Settings > General tab.

On the live app, when users click on the "Forgot Password?" link, they will be prompted to enter the email address they use to login to your app and click on the "Send Verification Code" button. If the email address provided is correct, the Forgot Password email will be sent from your app to this user's email address with a verification code for the user to retrieve from their email and input in the live app along with their new password.

Redirect Rules
Redirect rules enable you to custom-route specific users to specific pages in your app upon login.
To create a Redirect Rule, click on the Add New Redirect Rule button.
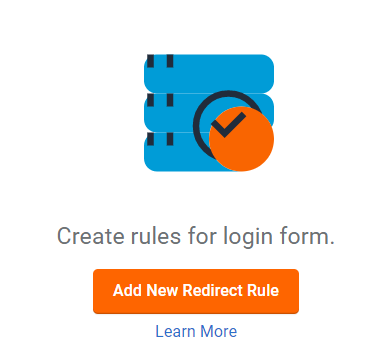
You can then create your redirect rule to route users assigned to a specific user role to a specific page upon logging in to your app. You can create as many Redirect Rules as you wish.

Note: If a User has multiple roles assigned, upon logging into your app the User will be routed to the page specified by the last matching rule.
Error Messages
Custom Error Messages appear when a user attempting to login to your app does not meet the requirements for logging in. Messages can be set based on the reason for the login or access failure.
Default Message
This is the message that appears when the login component loads, but the user is not logged in. You can remove it by clearing this field.

Already logged in
This is the message that will appear when the user is seeing a login component but is already logged in.

An alternative to this is setting a row permission on the login component to not show login component for logged in user.
Incorrect email/password
This message will appear when a user enters the wrong credentials:

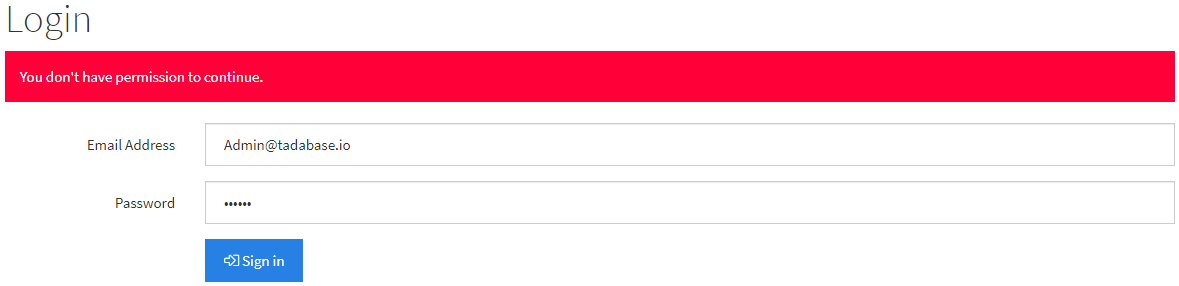
Not Authorized
This message will appear when a user tries view a page that their role is not authorized from seeing:
Status not allowed
When a login component is restricted to status (see here) this message will appear.
We'd love to hear your feedback.