Animate parts of a page
In this article we'll walk through how you can easily add animations to your pages with some custom CSS.
Adding Animations
To add animations to your page, you can use external animation libraries. For instance, for the purpose of this article we'll use a particular library from animate.css, however there are dozens of animation libraries out there for you to choose from. We'll just cover the basics for this article, however feel free to check out the documentation portals for animate.css or any other library for their extensive animation options.
Add Library
Start by adding the CSS library to the header section of your app located under Settings > Custom Header/Footer Code > Custom Header Code.
Copy the following code:
<link rel="stylesheet" href="https://cdnjs.cloudflare.com/ajax/libs/animate.css/4.0.0/animate.min.css"/>And paste it into the Custom Header Code section of your app:

Apply Animation
Next, open the edit option for the row, column or component to apply the animation to:

Add the following to the "Additional Class Names": animate__animated animate__rollIn

Each element that must be animated must first have the 'animate__animated' class and then a space with the animation type.
Some example animations you can choose from:
- fadeIn
- fadeInDown
- fadeInDownBig
- fadeInLeft
- fadeInLeftBig
- fadeInRight
- fadeInRightBig
- fadeInUp
- fadeInUpBig
- fadeInTopLeft
- fadeInTopRight
- fadeInBottomLeft
-
fadeInBottomRight
See this page for full list of animations.
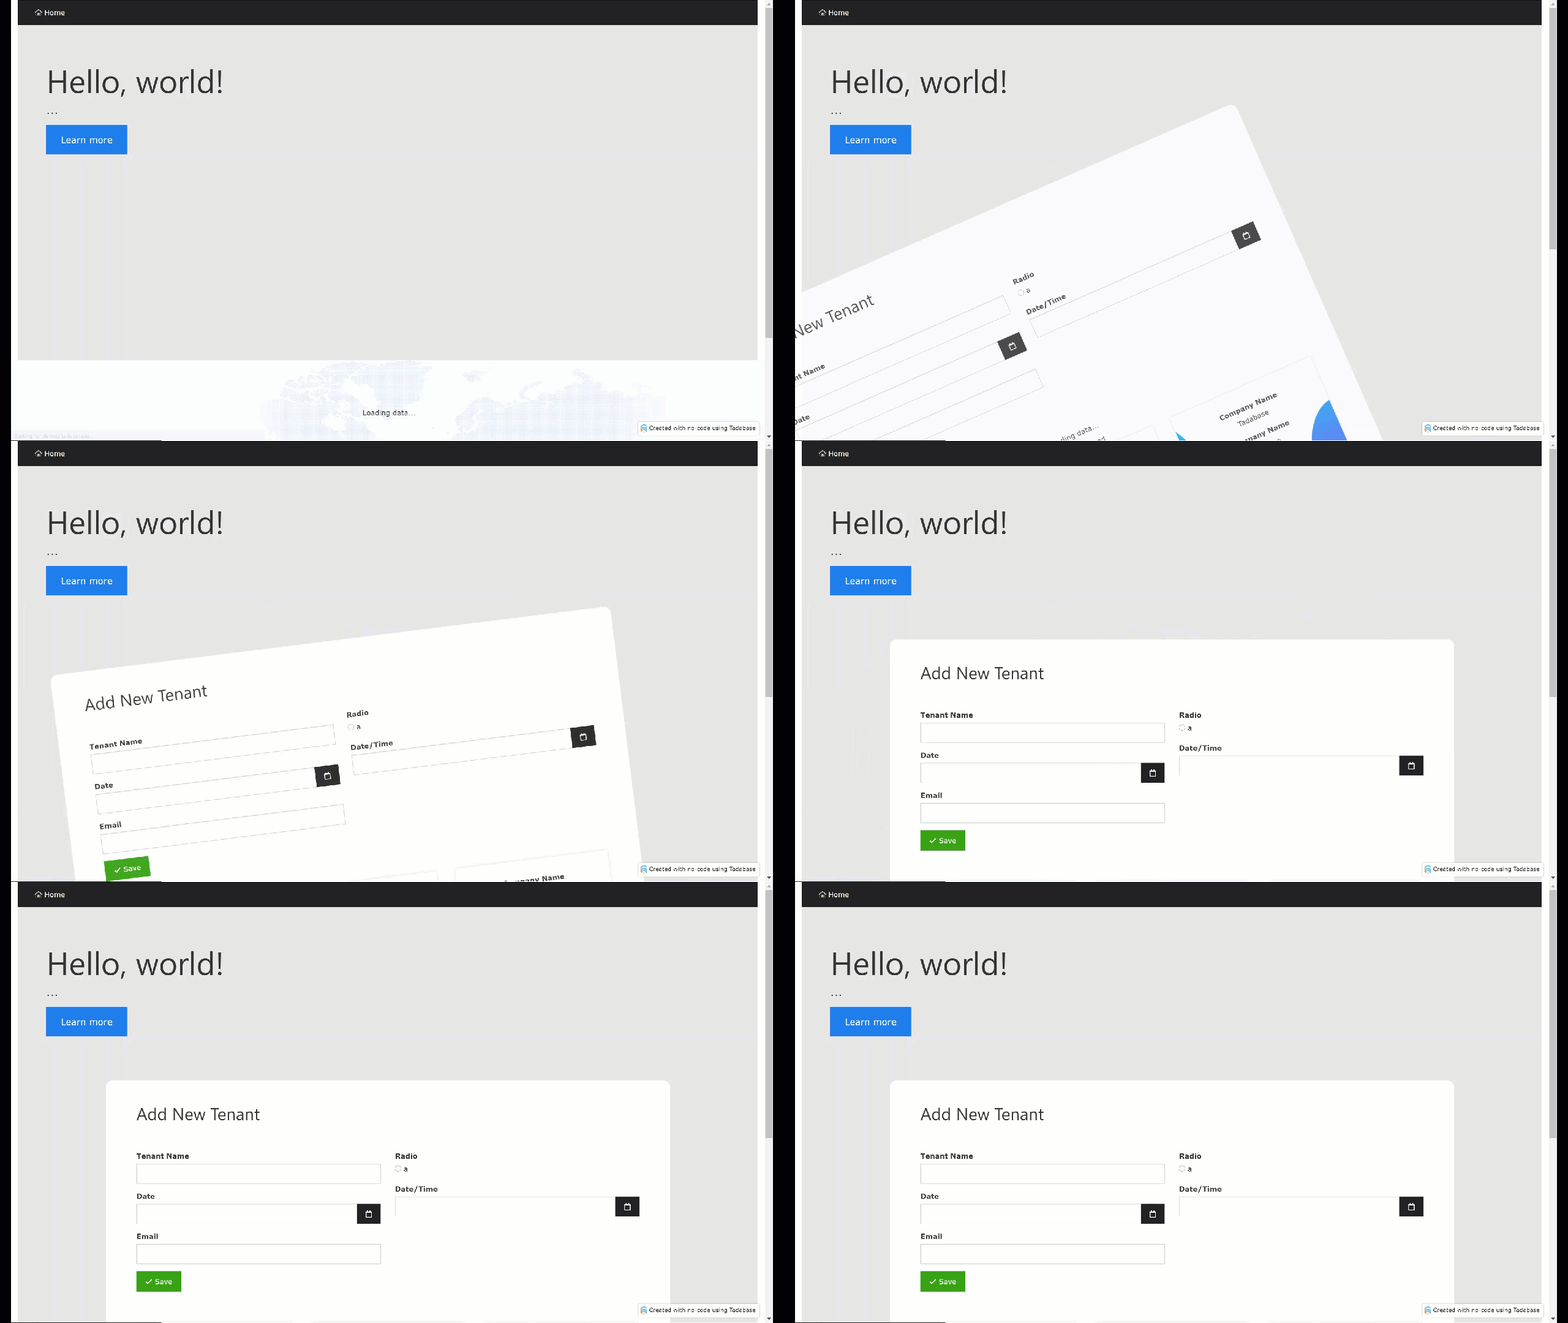
As you can see below, we applied the animate_rollIn to the component id which will load the page and apply that animation:

We'd love to hear your feedback.