Logo
For example "scheduled tasks"
Search
Info
Content
Category Navigation
  • 🎯  Solution Guides

  • Low Code Solutions

    Add "Tabs" to your app

    ID Target Link

    Use an address field to display a static street view thumbnail

    Turn your menu into a fixed menu

    Auto close mobile menu

    Display record information in a card

    How to add a back button to your app

    Add a collapsible accordion element to your app

    Code Snippets

    PHP Curl Create New Record

    PHP Get Records With Filters

    Google Scripts - Get record and create new records from connected table

    Save Tables and Fields into Spreadsheet

    Google Scripts - Export all records

    Webhook to save deleted records

    Send Messages to Slack

    Restrict Space and Force Uppercase in a Form

    Building Advanced Features

    Use Validation Rules to Ensure Unique Votes Per User

    Use Record Rules to Create an Audit Log

    Track current inventory with transactions

    Schedule Bookings and Prevent Double Bookings

    Create orders with multiple items and varying quantities

    2 Step Forms

    Unique Record Validation

    Restrict Editing Records to Record Owners

    Sum date/time field

    Duplicate Records

    Advanced App Customization

    How to embed a Tadabase page on another website

    Adding external fonts

    Custom Favicon

    Making apps mobile friendly

    Show date/time as a countdown

    Importing many images at once

    Adding QR Codes

    Adding charts to PDFs

    Customizing your app shortcut for mobile phones

    Animate parts of a page

    Design Customization

    Changing background colors

    Set background colors to the edge of a page

    Change the background of a column

    Add padding around a component

    Using an image as background for a page

    Adding a background image to a row, column, or component

  • Duplicate Connected Records

Categories
🎯 Solution Guides
Building Advanced Feat...
Create orders with mul...

Create orders with multiple items and varying quantities

This article will guide you through the process of creating and tracking complex orders with different items and quantities. So say you're building an app that allows users to purchase items in multiple quantities, this article will instruct you on how to build this out to make this possible. 


Let's first layout the general structure we'll be building so you can have a better understanding of the process along the way. When someone creates a new order on your app, s/he will be redirected to the order details page which will display as a shopping cart, which will be empty at this point. The user will add items with a quantity to the cart and this cart will be connected to the specific order. See the GIF below as an example:


UH_aVbA1gFk6wDp1MVxI3yNqO-PlkzZmoA.gif


Now that we've described the structure behind the process, let's get started on actually building this all out: 


The first step is to go into the data builder and add three tables: Orders, Products, and Shopping Cart. 

Now go into the Products data table and add a currency field that you can call price. 


2Djpbi15lVve9KpAAiQWjIPTZv8RKnS53Q.png


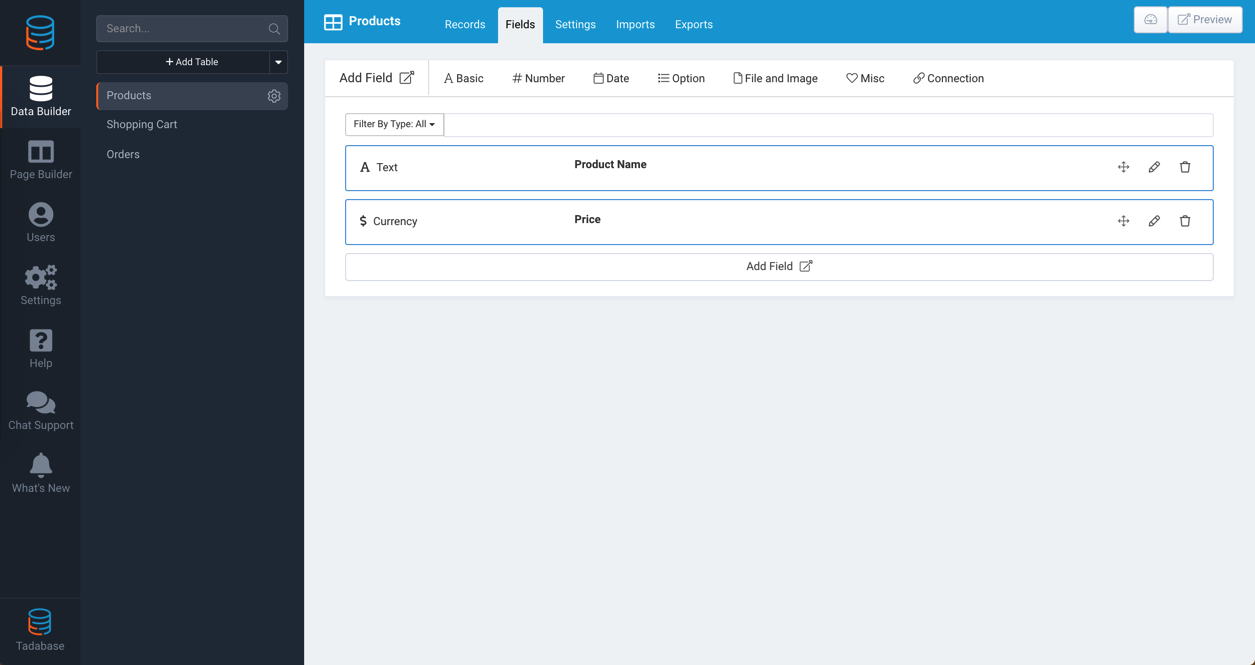
Now go into the Shopping Cart data table and create two connections- one to Orders and one to Products.  We are also going to add a number field which you can call Quantity and a basic formula field to calculate the total price of products in the cart by setting the formula to multiply quantity and price.


RbG7lSsvV3xA8QnhWZB9hTq__yP1GSMvPQ.png


Lastly in the data builder, we can go into the Orders data table and add a sum field which you can set to sum the Shopping cart table and in the value field select the basic formula of quantity times price.


dHlY5zqc1qFVtEUcvl7gjifcHO1OcLnXyg.png


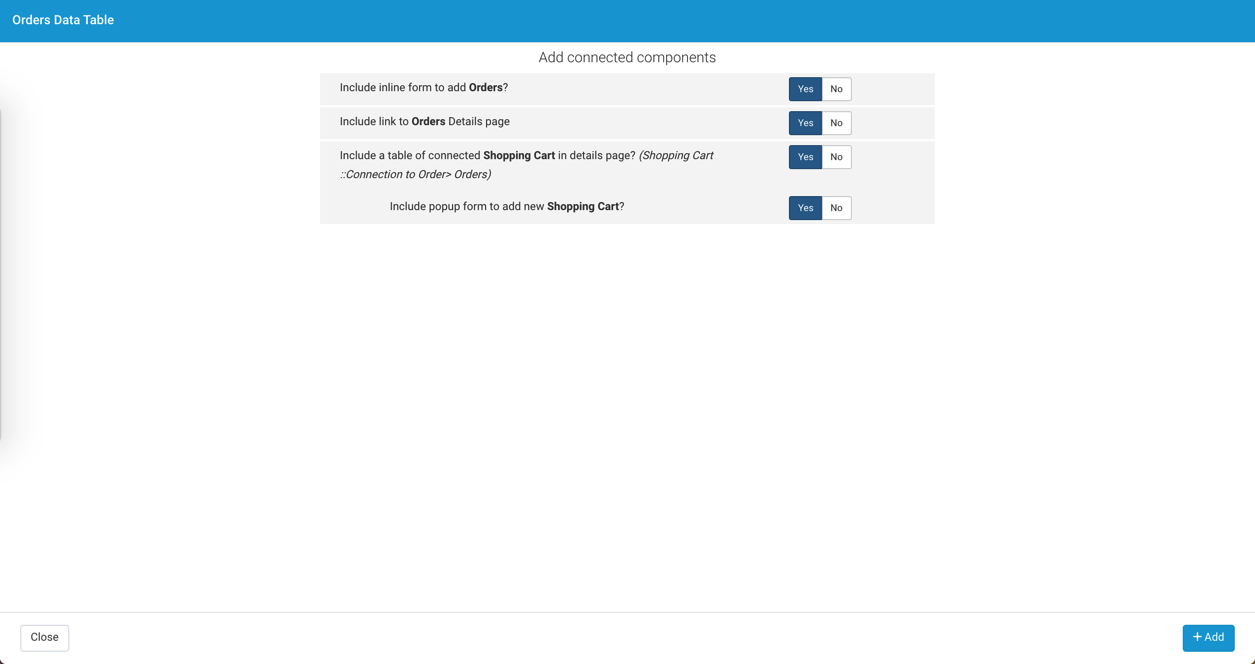
Now that we've designed our data structure, our next step is to design how we'll display our data in the Page Builder. In the page builder, add a page with a table component and select the orders data table. Then select quick add and choose all four options which should consist of: a form to add orders, a details page, a Shopping Cart table within the details page, and a form to add new Shopping Cart.


87D-kg0MeLKEB418kYnhRydcXIimQ_Smtw.png


Now that you have created the orders page click to edit the “add orders” page. Go to form rules and change the submit rule to redirect to an existing page: Orders >  order details page.


SJDFEKLjOCKXGsYarivaNfVJxMM9maWiEA.png


Now you have created a basic structure to add items and quantities to an order. To test your app, create some Product records (Name and Price) within the data builder, then preview the orders page, add a new order, and start adding Items to your order.


How did we do ?

Previous Article
Schedule Bookings and Prevent Double Bookings
Next Article
2 Step Forms
Back to top
API
100% Operational
Apps
100% Operational
Builder
100% Operational
Overall Status
100% Operational