
Step 2: Let's define our data structure in the Data Builder
Now we'll get started building the database structure of the app.
The first step in creating our app is to give our app a name (required) and choose an app icon, color, and app description (optional).

Once we've entered this information, we'll click Create to create our contact directory app.

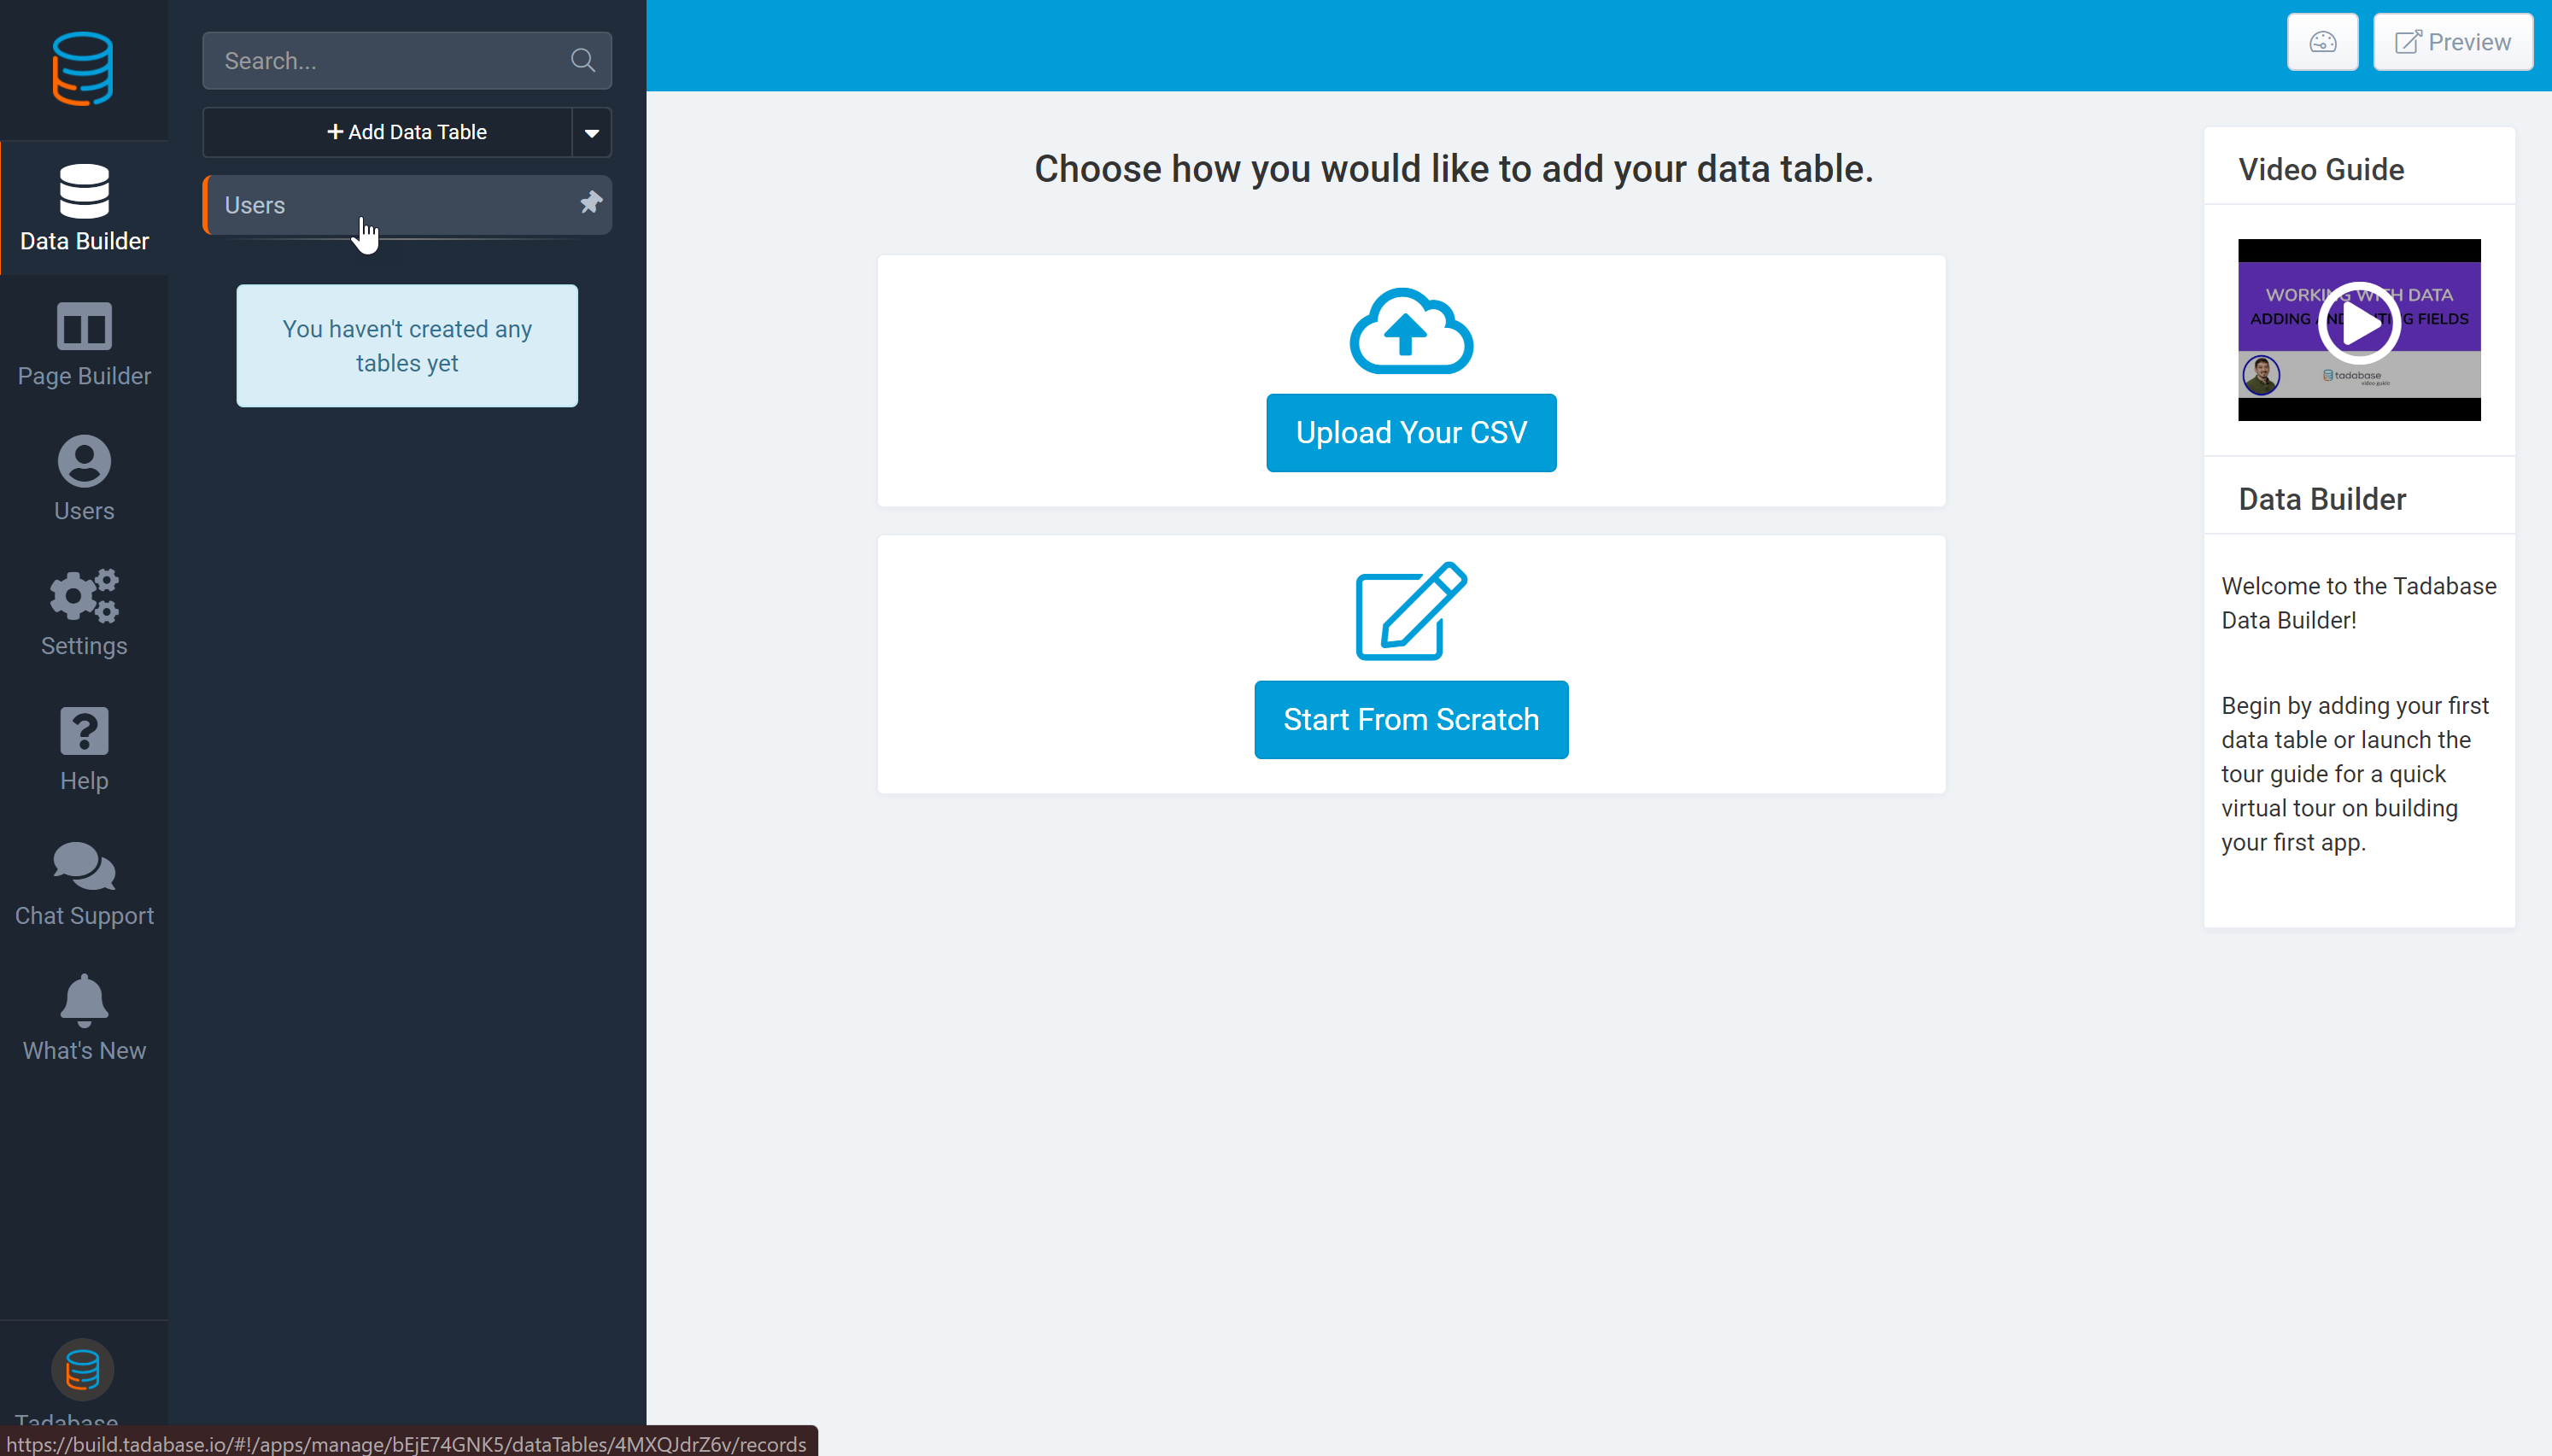
We'll first be directed to the Data Builder section of the builder, where we'll create the data structure that will define our Contact Directory application.
To assist beginners with creating their first apps, each new app comes with a sample data table that demonstrates how data tables are structured with fields (columns) and records (rows). Sample data tables can be deleted at any time.
For beginners to database structuring, it is helpful to think of data tables as spreadsheets, fields as columns in a spreadsheet, and records as rows within a spreadsheet.

Let's delete this sample data table and begin adding the data tables that comprise our contact directory application. To delete a data table, click on the Settings tab on the top navigation menu (the data table navigation menu) and click the Delete button.

Now that we've deleted the sample data table, the only data table remaining is the default Users data table. The Users data table is where we add the data for all users whom we wish to login to our app and have role-based user permissions. Let's click on the Users data table to enter the data for the users whom we want to login to our app.
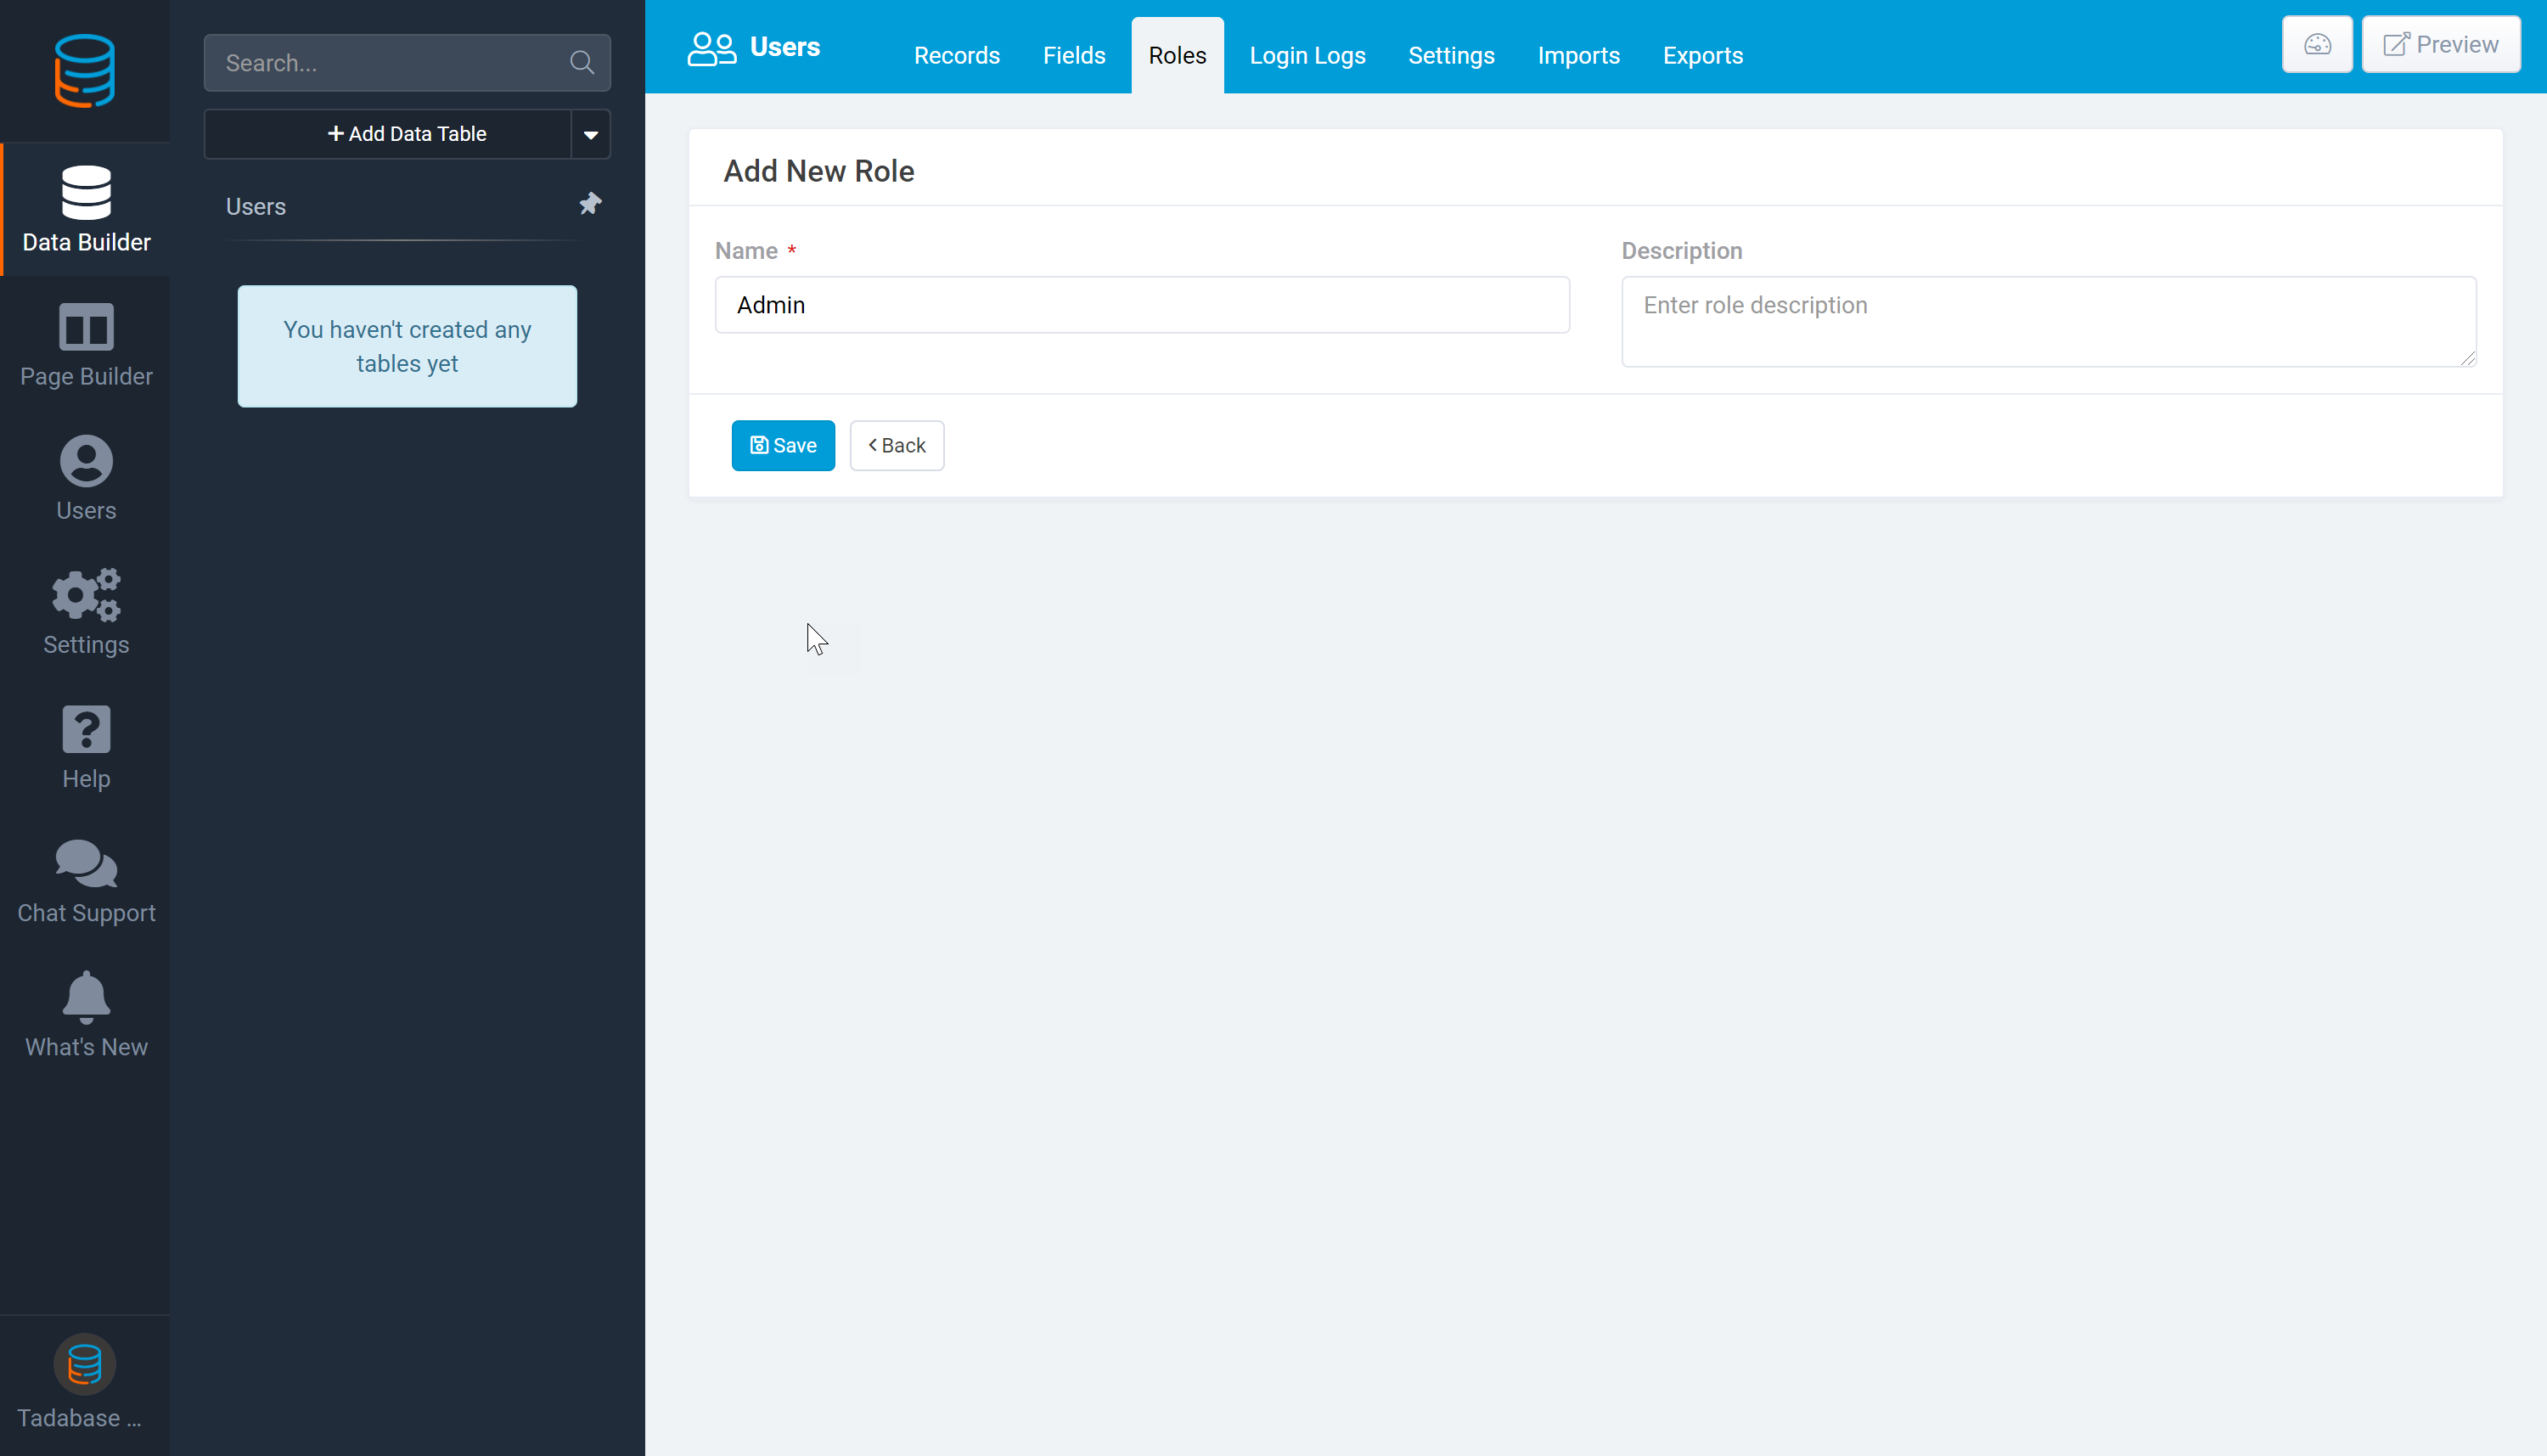
Within the users data table, let's first click on the Roles tab on the data table navigation menu. When adding data for logged-in users, it is helpful to start with creating the roles that each user will be assigned to. When creating roles, it is helpful to think about which users we want to login to our app and in what role or capacity we want them to login.

For the purpose of our basic contact directory app, the only role we'll create is the Admin role, which refers to us/the admin controls of this app.
For a more complex contact directory app, we may want to create two roles- an admin role for app admin to login and an employee role for employees to login and track their assigned contacts and contact notes. However, for the purposes of this beginners' contact directory app, we'll simply create one admin role.
Let's name our one and only role as "Admin" and click Save.
Now that we've created our admin role, let's assign this role to specific users and add their data in the Records tab of the data table navigation menu.

In the Records tab of our Users data table, let's click on the + sign to add new records for the users who will login. The Users data table comes with 5 default fields including Name, Email Address, Password, Status, and a connection field to Roles. If we wanted to add more fields to define our users, we would easily do so by adding field types from the top Add Field menu, however for the purpose of this basic app we'll continue with these 5 default fields and begin adding our user records.
The password field is only visible within the details of each record to protect each user's password information.

Once we click on the + sign to add new records, we'll add the data and complete the fields that will identify our first user record. Let's enter the user's name, password, email address, user status, and for the connection field to Roles we'll assign this user to the role of Admin. Once we've completed all fields, we'll click Save.

Now that we've added a record for our one and only user who will login and we've assigned this user with a login role, email address, and password, we can continue adding additional data tables that will comprise our contact directory app. To add more data tables, let's click on the + Add Data Table button.

To recap, the data tables we still need to add to create our contact directory app are Companies, Contacts, and Contact Notes. Let's add the Companies data table first as it is best to first create the parent data tables that future child data tables will connect to.
For more information on parent-child data tables and creating strategic data table connections, please click here.
Let's give this data table a name of Companies. We can either begin adding fields here by clicking the Add Field button or we can click the Create Table button and add this data table's fields in the next prompt. Let's first save this new data by clicking Create Table and we'll add the fields next.

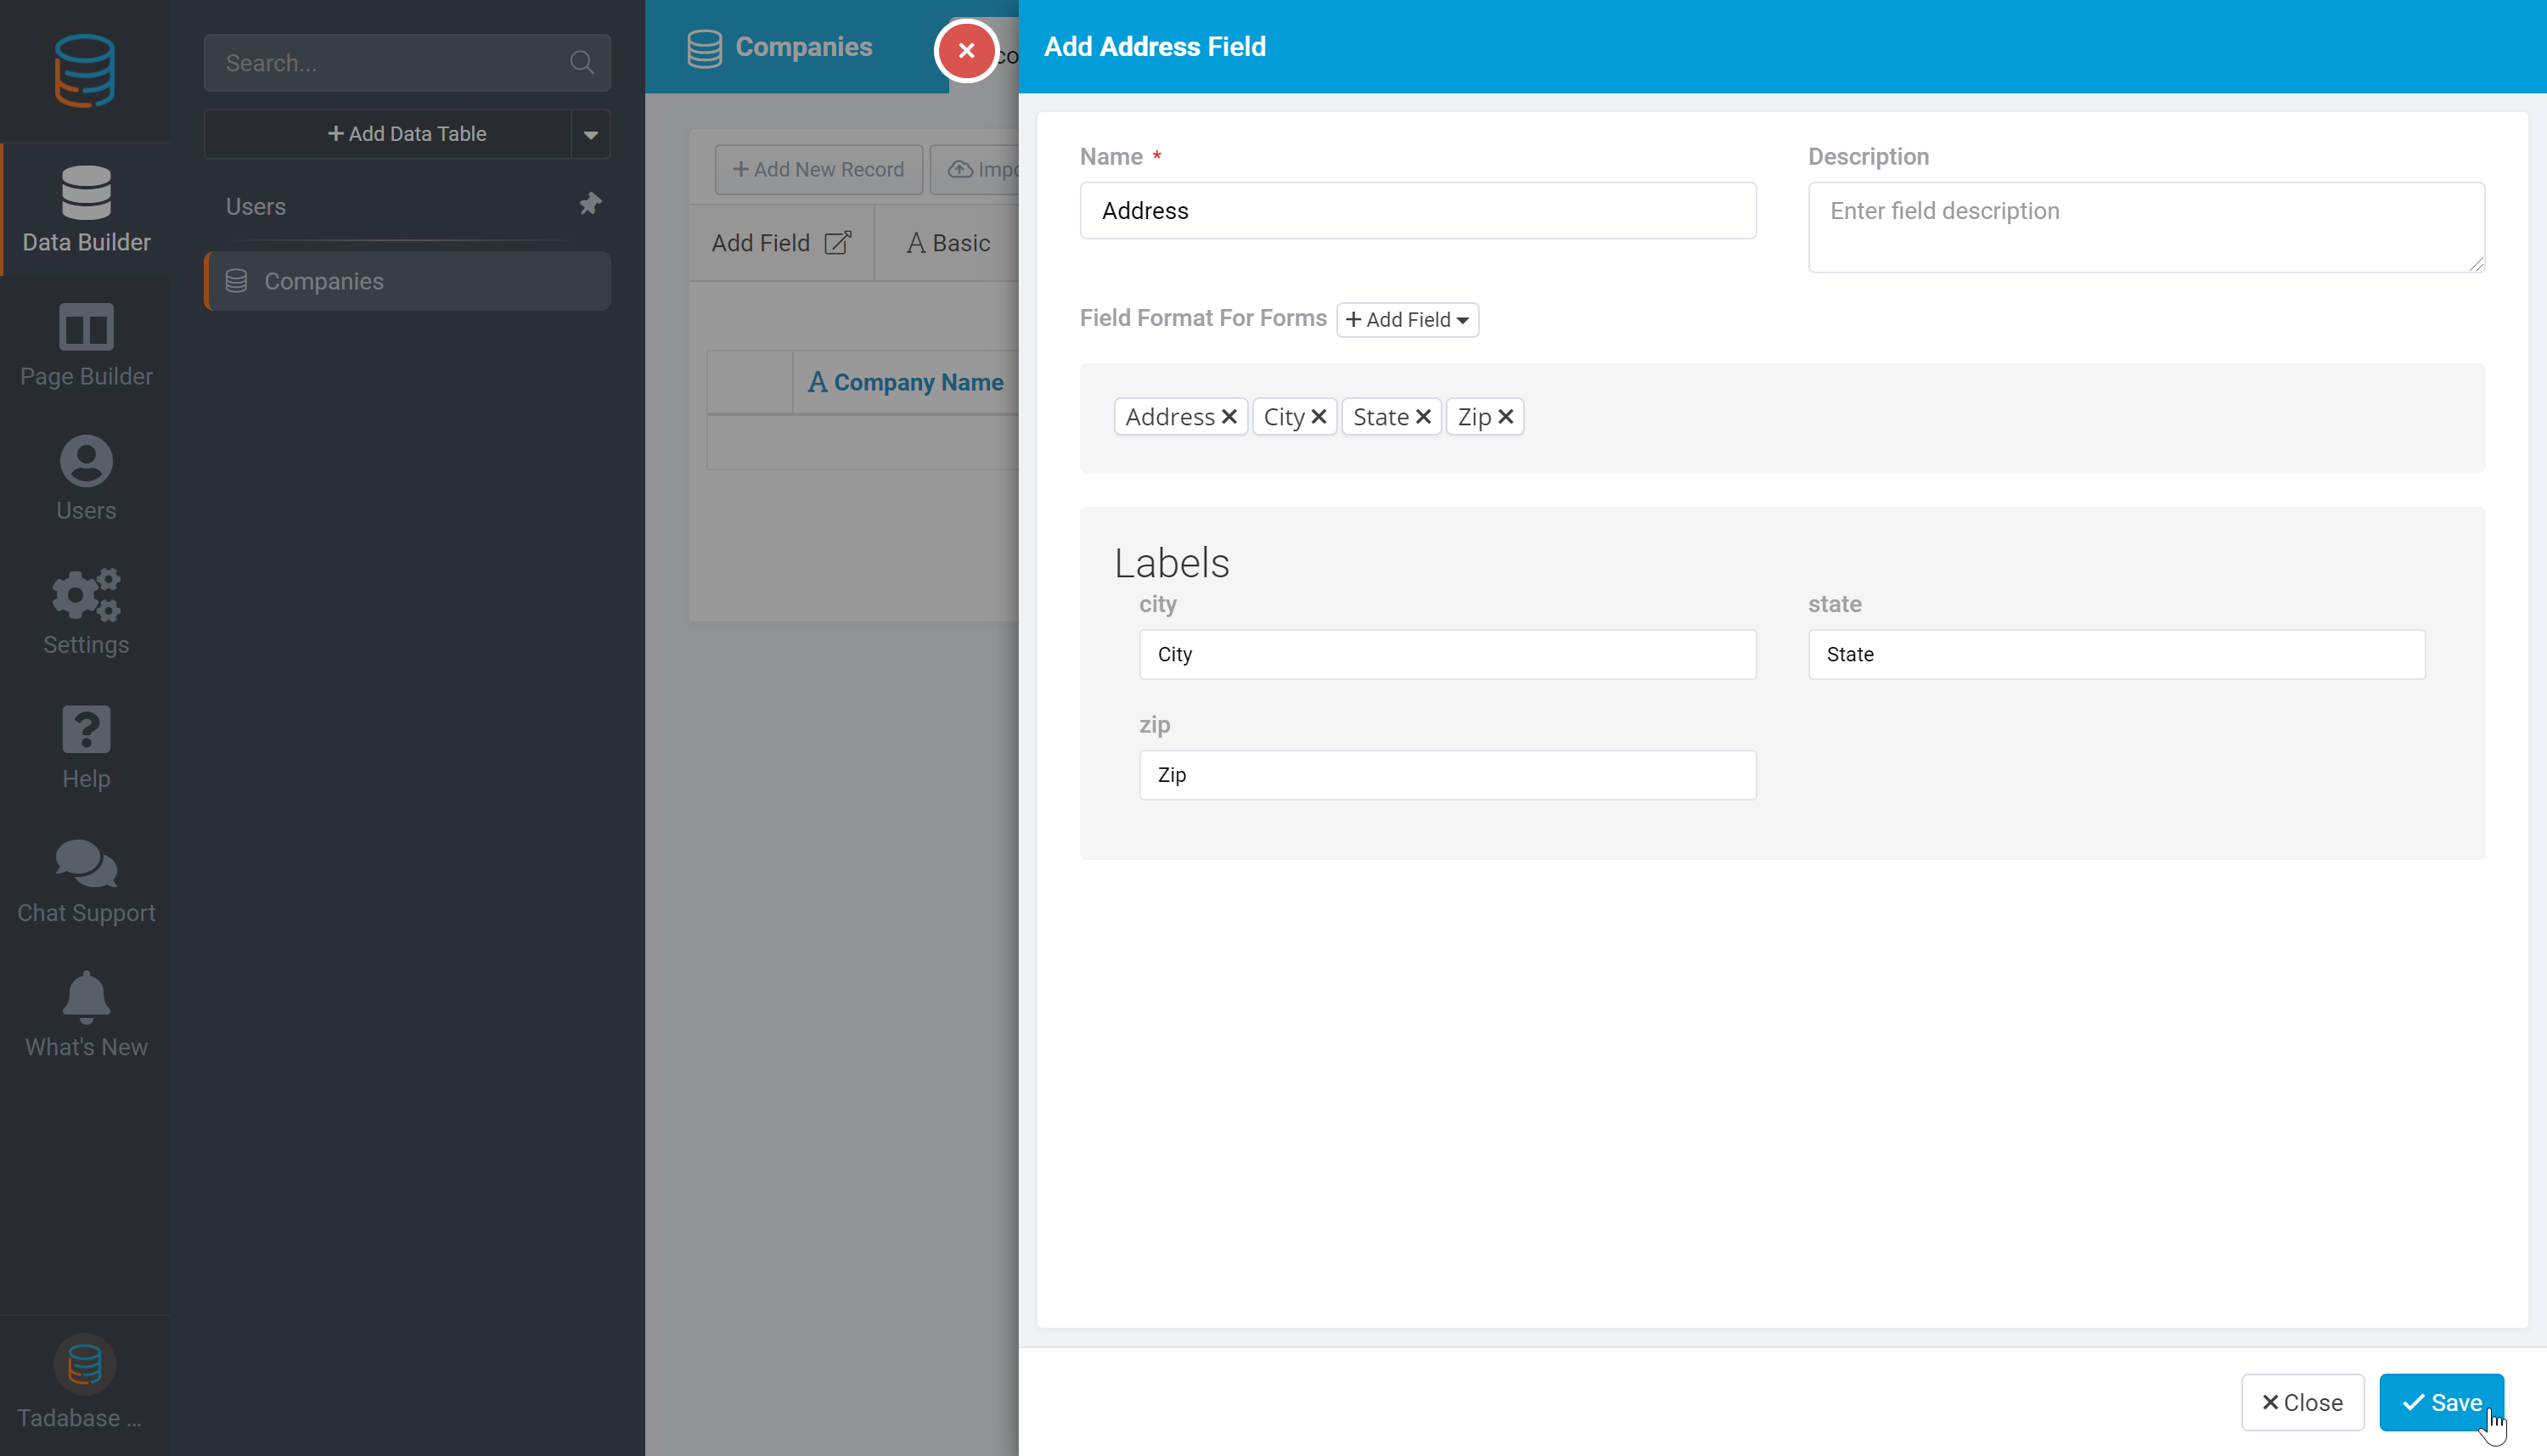
Before we begin adding the fields that will define our Companies data table, let's first take a minute to plan out the fields we need. As this is a simple contact directory app, we'll need the most basic fields to define our Companies data table including a Name field, an address field, a website link field, and a radio option field for industry type.
Every new data tables comes with a default Name field, so at default our Companies data table already includes a company name field. Let's add the remaining fields needed, starting with an address field. Let's select an address field from the Basic category on the Add Field menu.

Let's name the address field as "Address", leaving the rest of the default address field settings as is, and click Save.
Next, let's add a company website link field by selecting a link field from the Miscellaneous category on the Add Field menu.

Let's name our link field as "Website", keeping all default link field settings as is, and click Save.

For our fourth and final field defining our basic Companies data table, let's add a Radio Option field so we can define each company's industry. Let's select the Radio field from the Option category on the Add Field menu.

Let's name our radio field as "Industry" and begin adding industries and assigning each industry with a color tag.
In addition to color tags, we can also assign icons to each option, however for the purpose of this basic contact directory app we'll forgo adding icons and we'll only add color tags to each option.
Let's begin adding industries and color tags, clicking on the + icon to keep adding more industries and color tags. Once we're finished adding all industries and color tags we'll click Save.

Now we have our four fields defining our Companies data table and we're ready to add our second data table- our Contacts data table- and define the fields that comprise our Contacts. Let's click on the + Add Data Table button to add our Contacts data table.

Let's name our new data table as Contacts and click Create Table.
Now, we'll add the fields that comprise our Contacts data table. The fields we need to define our Contacts are Contact Name, Email Address, Phone Number, Job Position, and a Connection Field to connect each contact with his/her relevant company.
As every new data table comes with a default Name field, we already have a Contact Name field and now need to add our remaining email, phone, position, and connection to company fields.
Let's add our email address field by selecting Email from the Basic category on the Add Field Menu. We'll title the Email field as "Email" and click Save.

Next we'll add the Contact's phone number field by selecting Phone Number from the Basic category on the Add Field menu. We'll title the phone number field as "Phone" and click Save.

Next we'll add the Contact's job position field by selecting a Text field from the Basic category on the Add Field menu.
We could also add the contact's job position field as an Option field, however since there are inevitably too many options for job positions to list them all, it is more practical to add Contact's Job Position as a basic text field that can filled out individually with each contact record.

We'll title the Text field as "Position", leaving the default text field settings as is, and click Save.

Now we have four fields defining our Contacts data table including Contact Name, Email, Phone, and Position. It's now time to add our fifth and final filed- the connection field which will connect each contact with his/her relevant Company.
To add this connection field, let's select the Connection field from the Connection category on the Add Field menu.

We'll then be prompted to select the data table that we would like to connect with our Contacts data table. Let's select the Companies data table from the drop down menu so we'll be able to track which company each contact belongs to.
When creating data table connections, it is best to make the connection from the Child data table (Contacts) belonging to the Parent data table (Companies). In this case, each contact "belongs" to a company (rather than each company belonging to a contact) so it was best to make the connection from the Contacts data table to the Companies data table, which we just illustrated above. To learn more about Parent-Child data tables and making strategic data table connections, please click here.

Once we've selected the Companies data table as the data table we'd like to connect our Contacts data table to, we'll then select the connection relationship type to define how these two data tables connect.
Since one contact connects to one company and not to many companies, we'll select this connection relationship type.
To learn more about connection relationships, please click here.

Once we've selected the 1:1 connection relationship, we'll then be prompted to select the display field, which is the field that will be displayed in the connection field column. In our Contacts data table, we want to display the company name that each contact belongs to, therefore we'll choose Company Name as the connection display field.
Lastly, we'll name the connection field as "Company" and click Save.

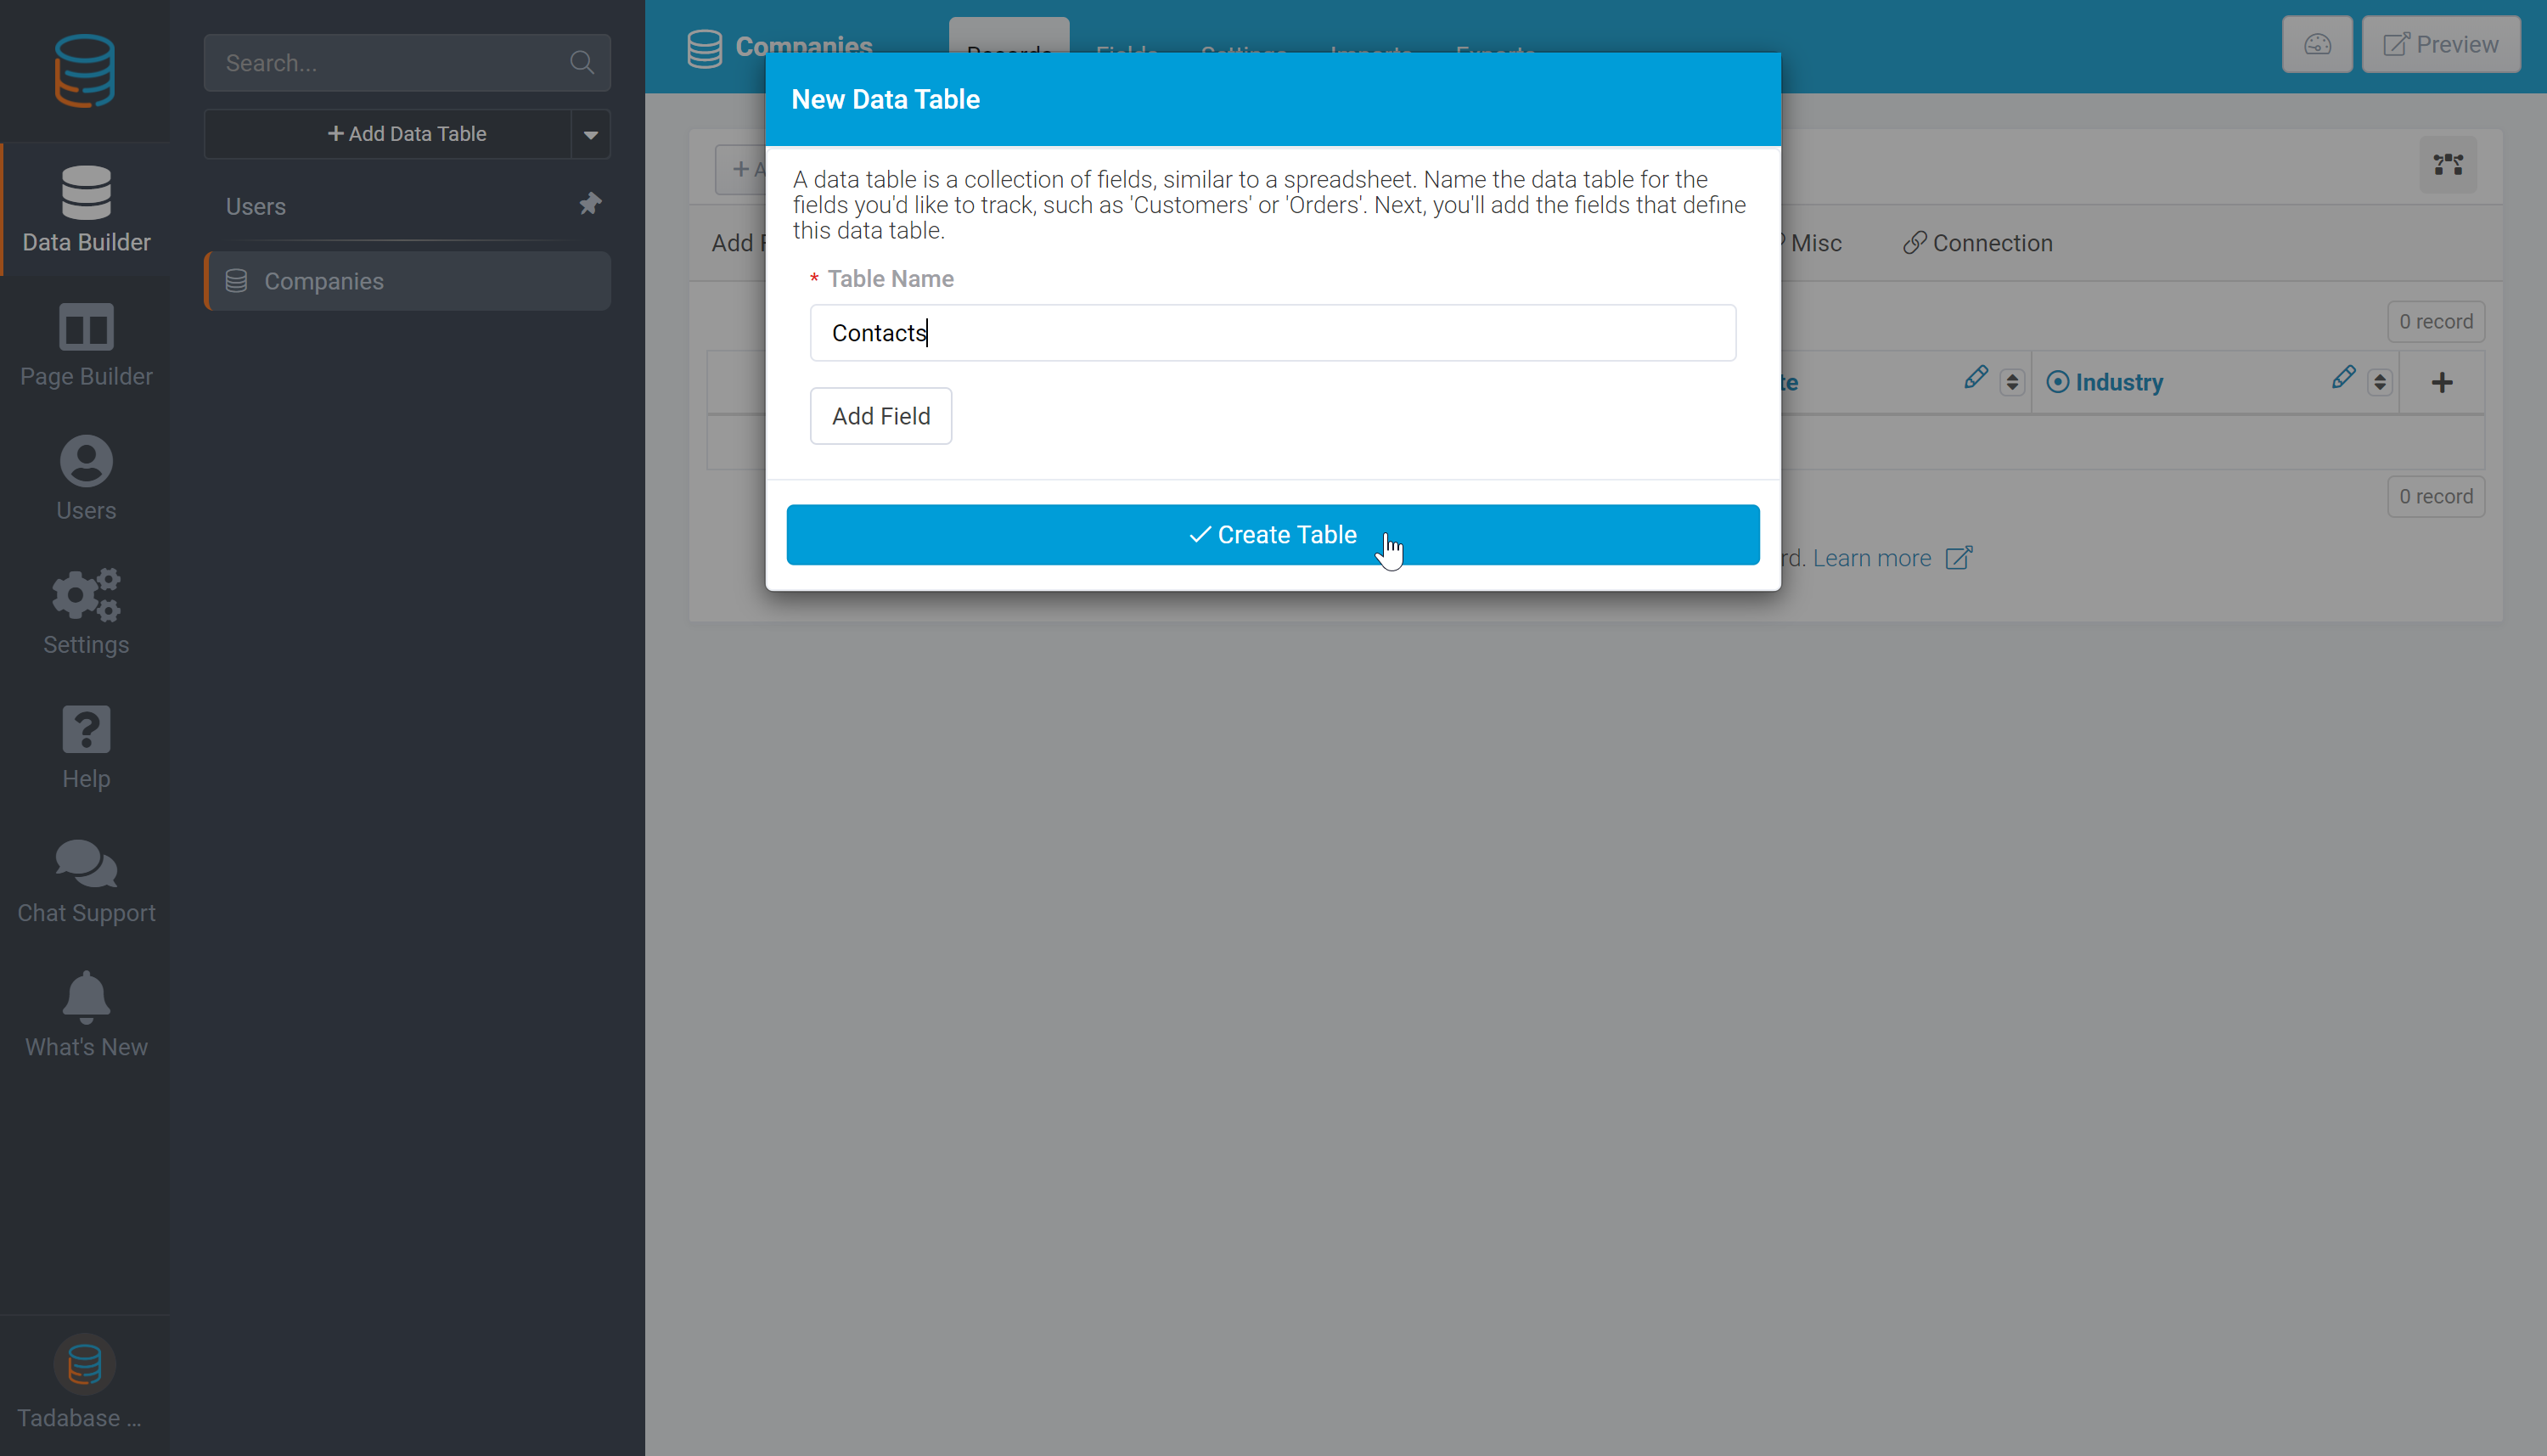
Now that we've added all our fields defining our Contacts data table, let's add our third and final data table for this simple Contact Directory app- a Notes data table so we can track every communication with each contact. To add the Notes data table, let's click on the + Add Data Table button.

Let's title our data table as "Notes" and click Create Table.

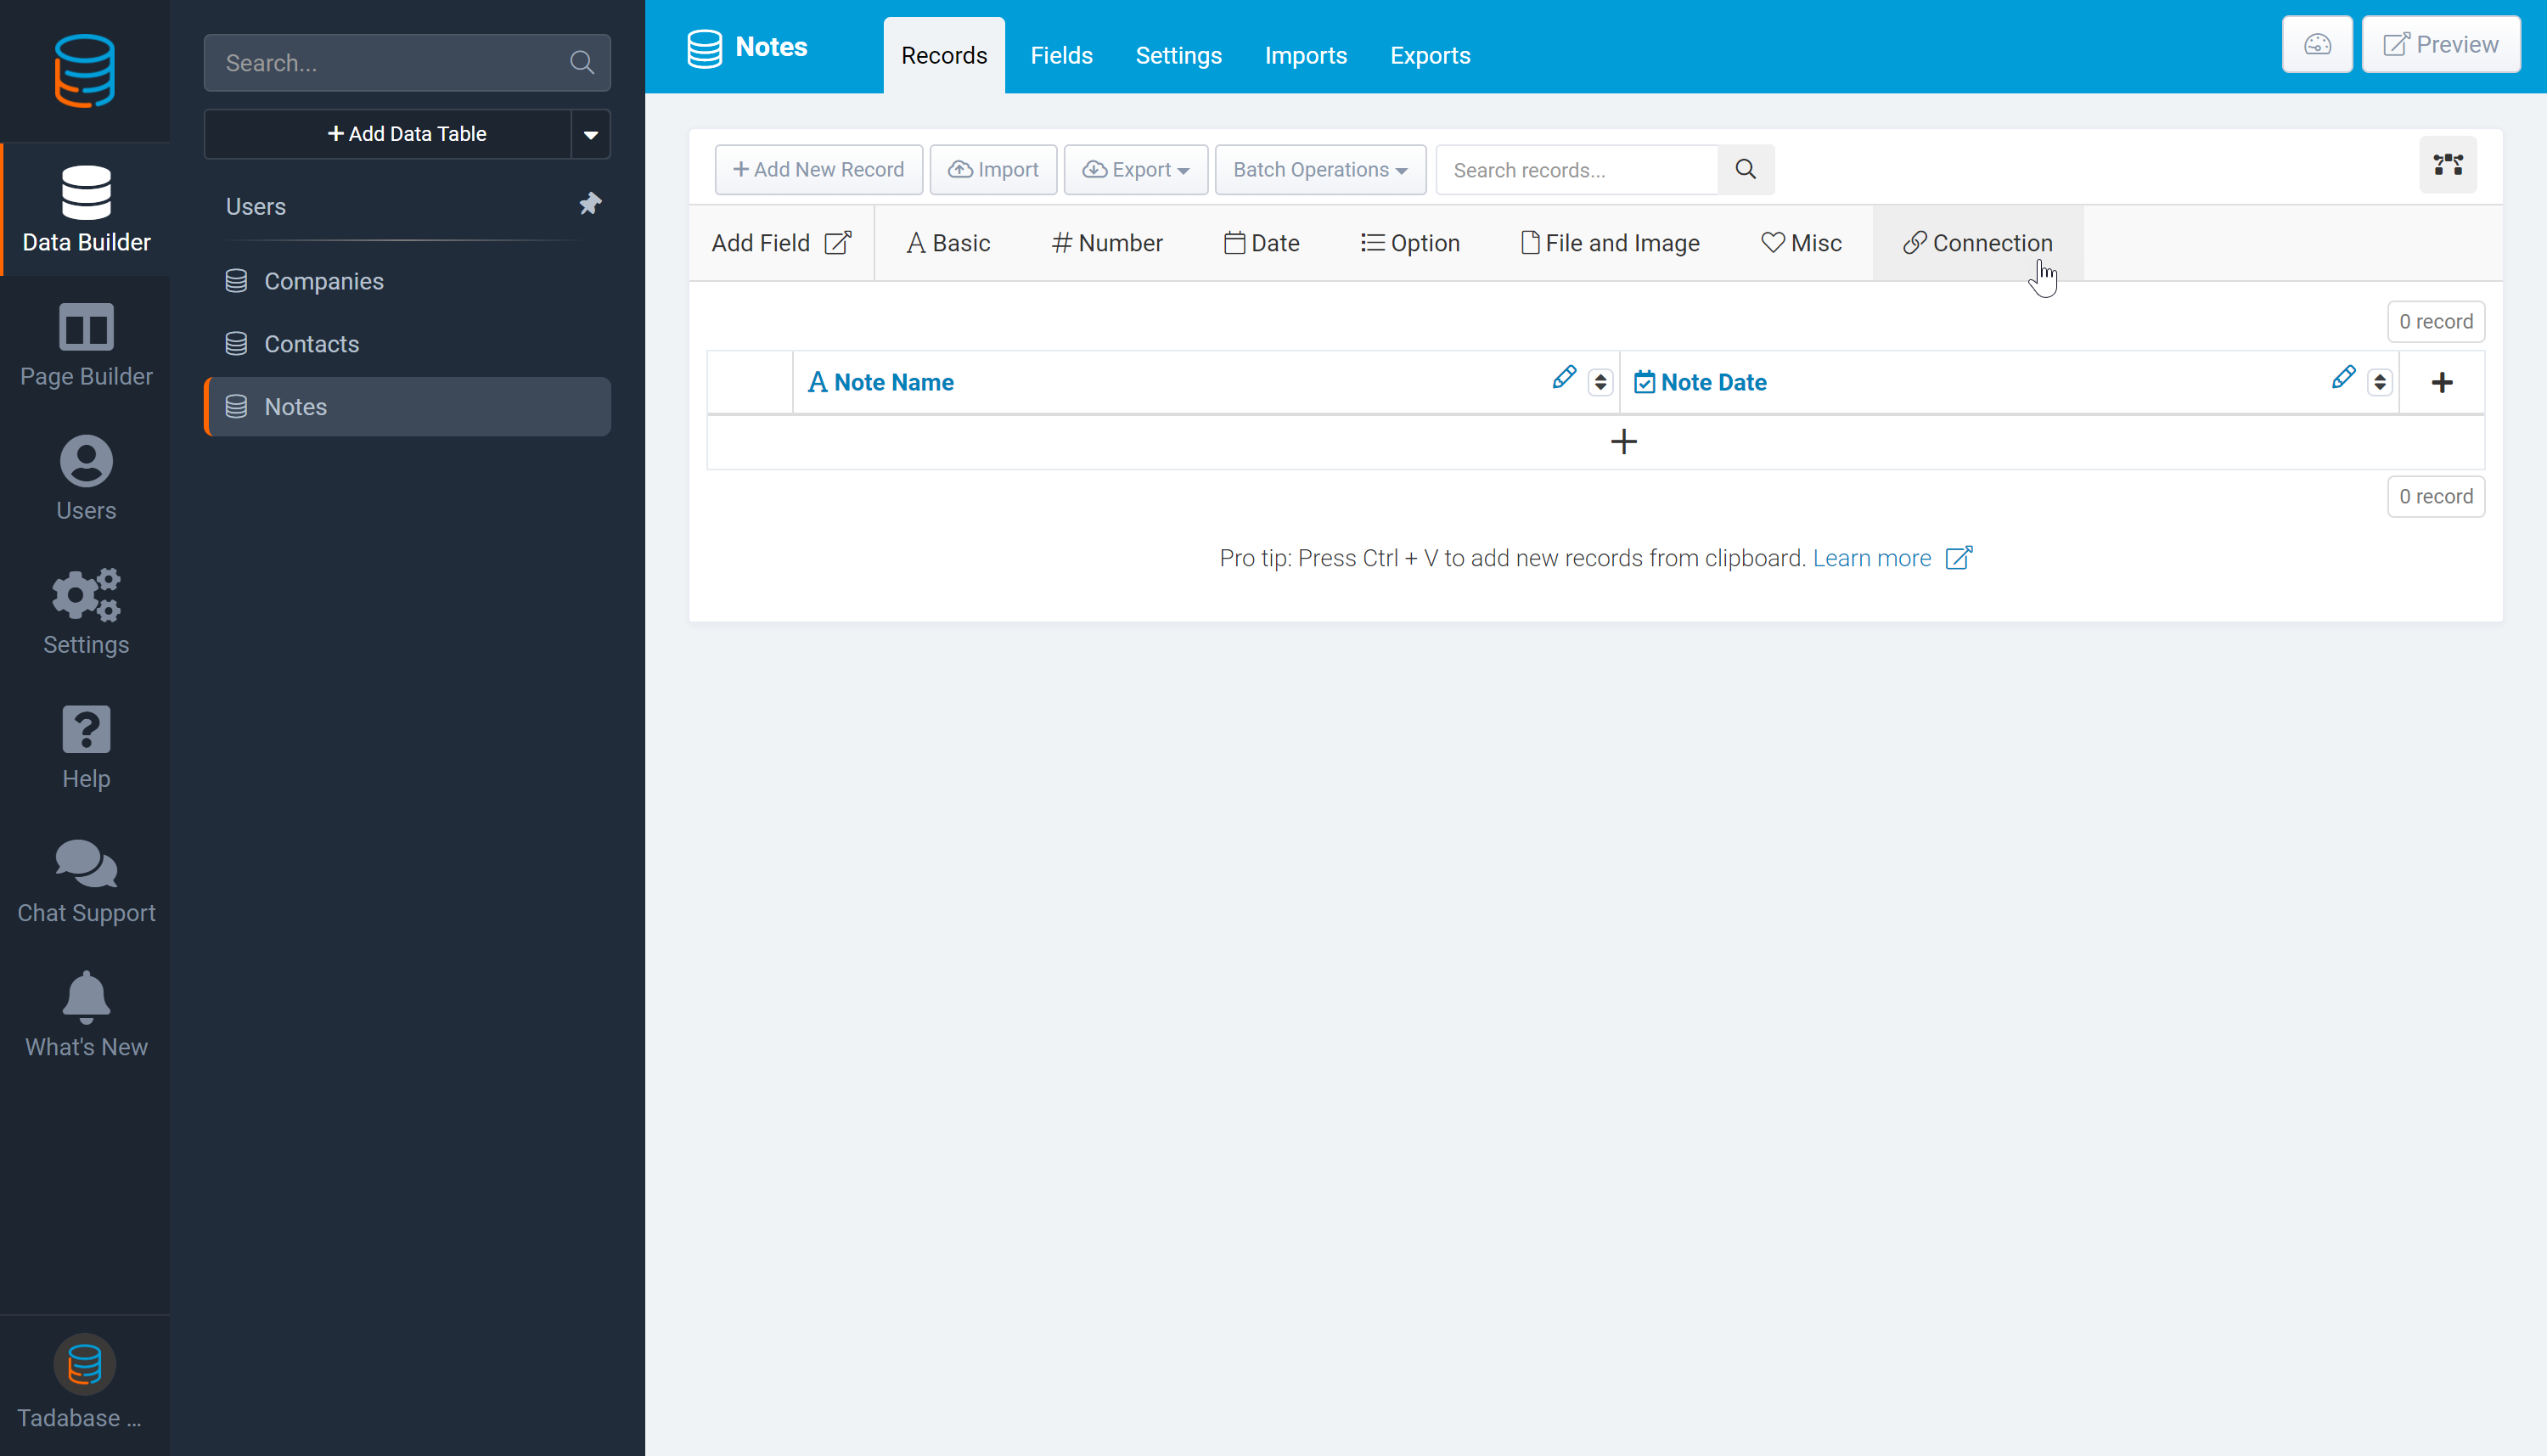
Let's now add the following fields to define our Notes data table: Note name, note date and time, and a connection to which Contact each note belongs to. As each new data table comes with a default Name field, we already have our Note Name field and can continue with adding the remaining date field and connection field.
To add a date and time field, select the Date & Time field from the Date category on the Add Field menu.
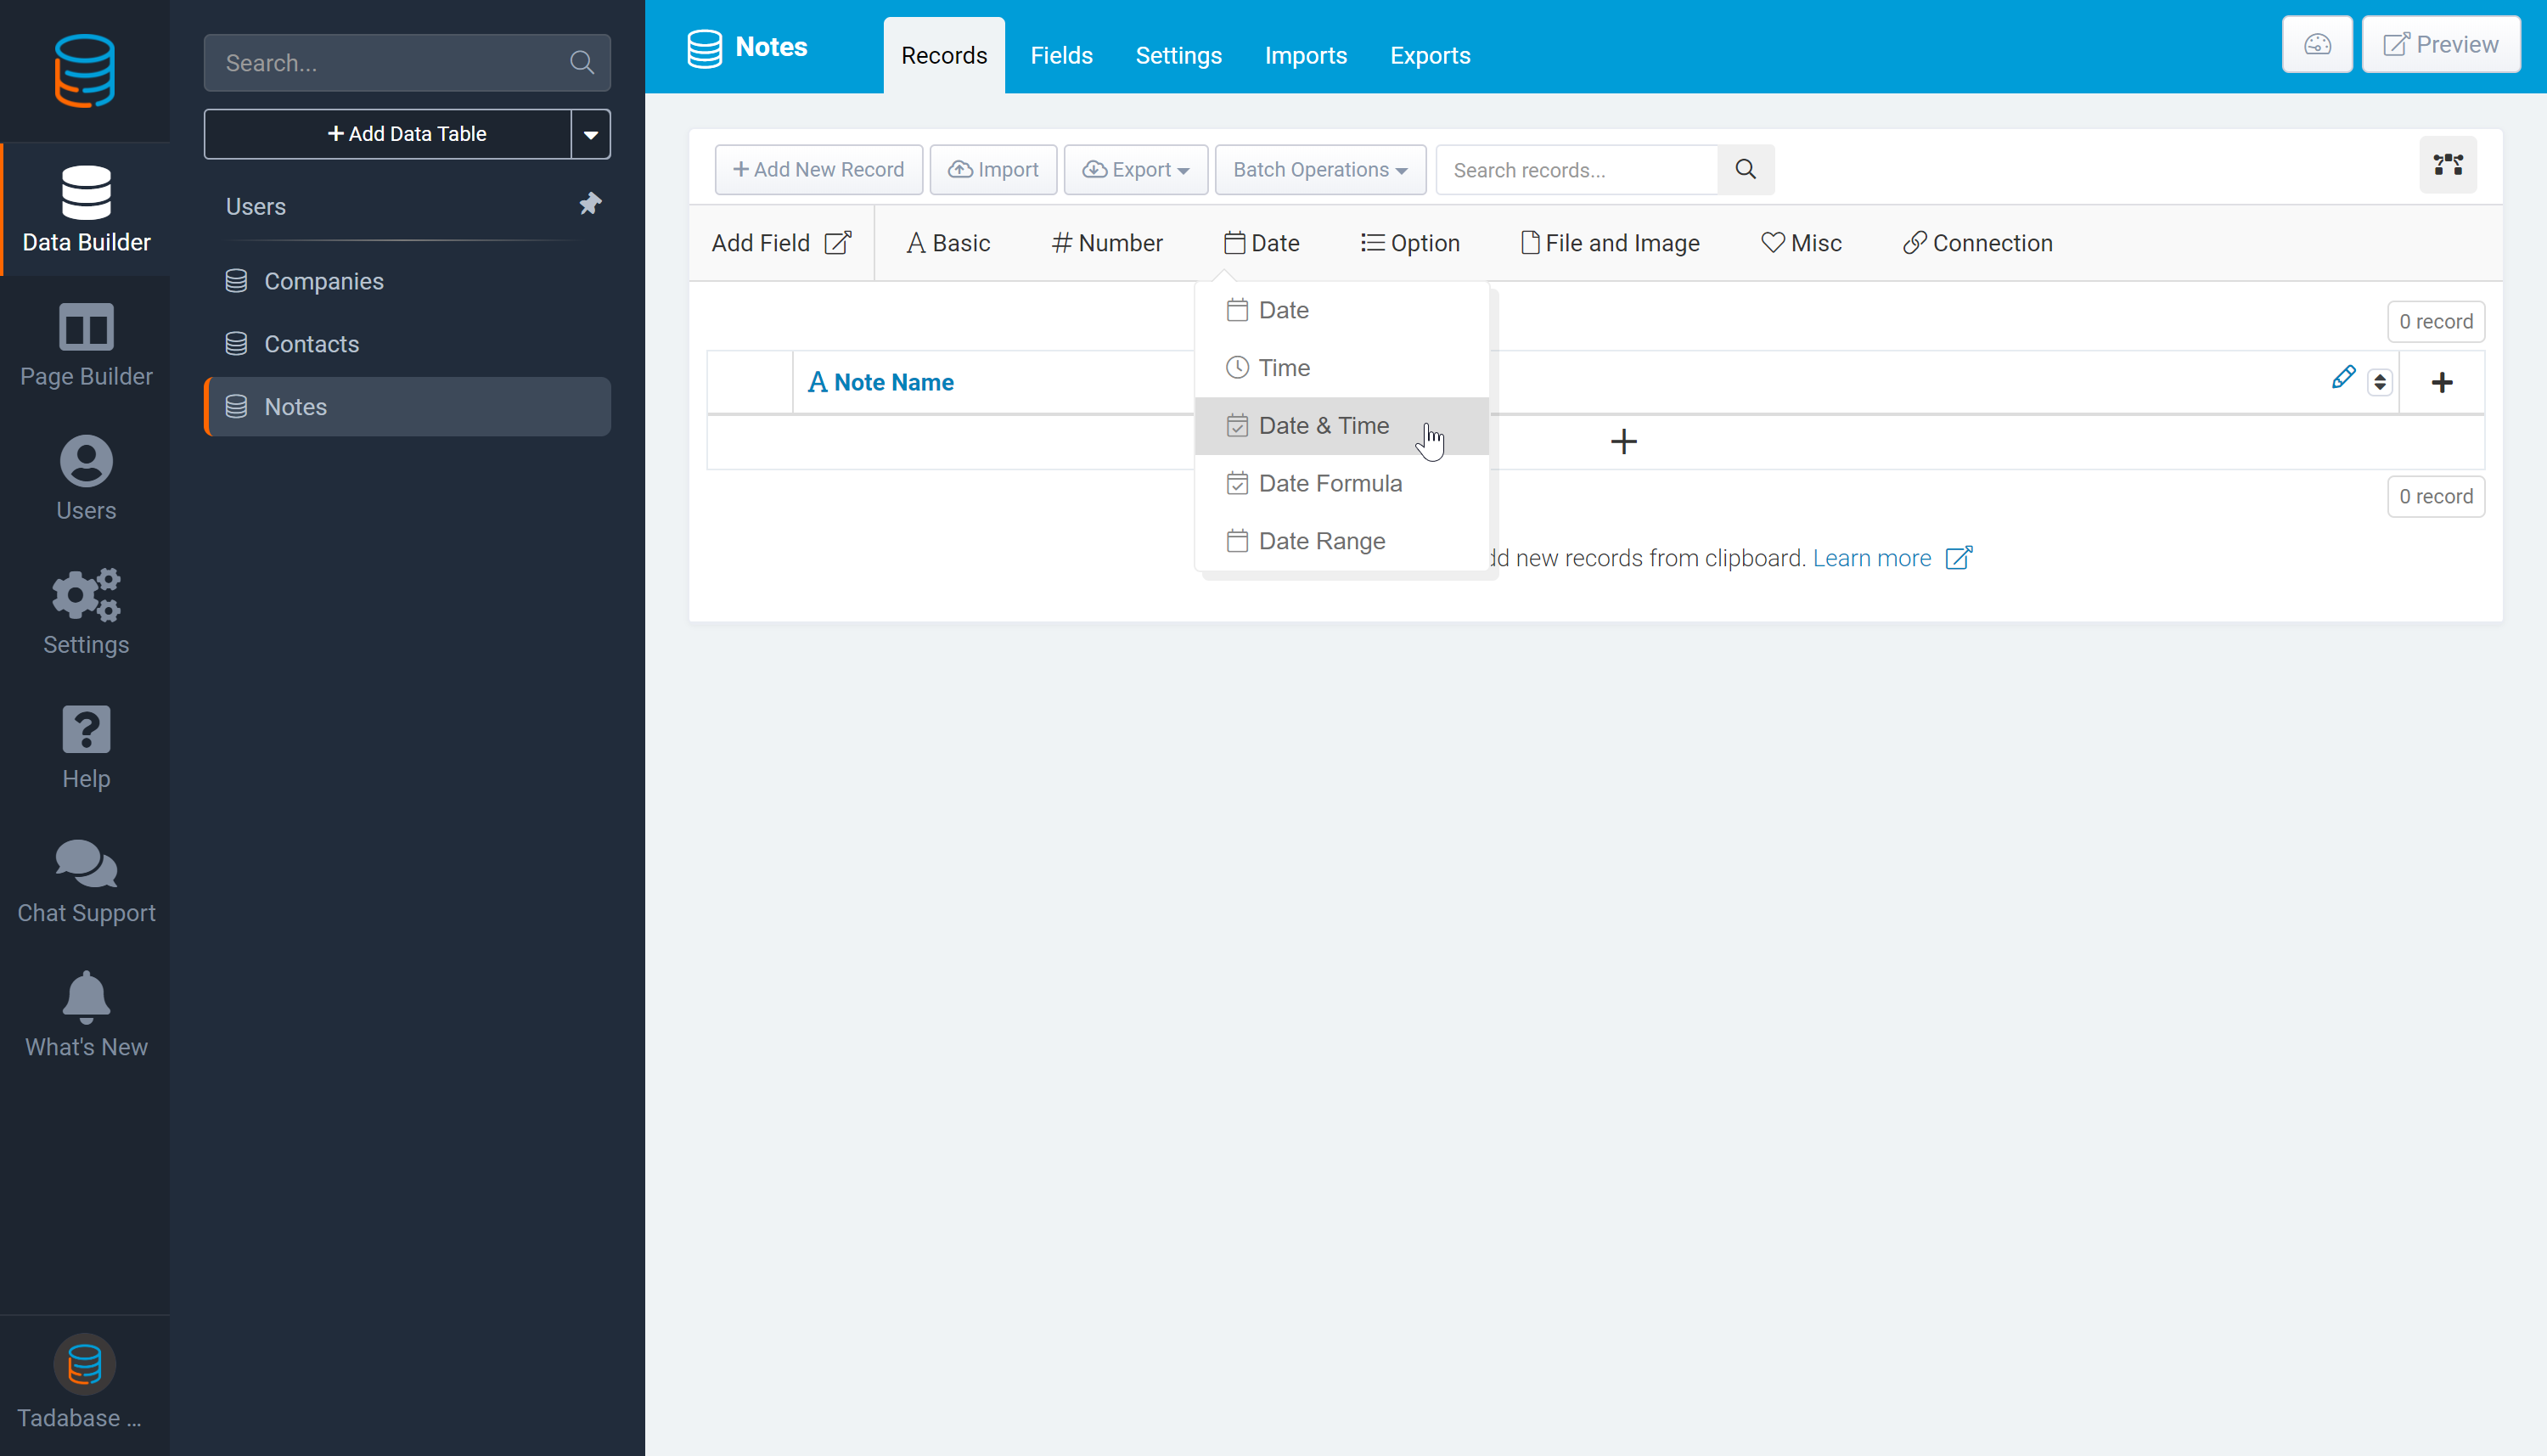
We'll name the field as "Note Date" and click Save.

Next, we'll add the connection field to connect each note with its corresponding Contact.
As previously mentioned, it is best to make connections from the data table belonging to another data table. Since each note belongs to a contact (rather than each contact belonging to a note), we will make the connection from the Notes data table to the Contacts data table. Let's click on the Connection field on the Add Field menu to add this connection.
Each note connects to a contact, so we'll select the Contacts data table from the Notes Connects To drop down menu.

Now we'll establish our connection relationship type. Since one note connects to one contact (and not to many contacts) we'll select this 1:1 connection relationship type.

Next, we'll choose the display field that will display within the connection field column. We want to connect each note to its corresponding contact, so we'll select Contact Name as the display field.
We'll then name the connection field as "Contact" and click Save.

Now that we've added all our fields and data tables, we have successfully defined the data structure for our Contact Directory application.
We can now move on from the Data Builder to the Page Builder where we will design the interface through which we and our users can add and interact with our data on the live app.
The live app refers to the live version of our application, or the front-end of our application, via which users will add and interact with our data when they visit the URL assigned to our app.
To continue on to the Page Builder to design the live app through which we and our users will add and interact with our data, click on the Page Builder tab on the main builder navigation menu (left-side menu).

Now that we've created our data structure, we can technically begin to add data by clicking on the + icon within each data table (highlighted in the image above) to add new records. As a reminder, a record is a row of data or information, similar to rows in a spreadsheet. However, the best way to add data is not from within the Data Builder but rather from the live app itself, due to the advanced front-end functionality that empowers our data when we add it from the front-end of our application. Therefore, once we've successfully defined our data structure in the Data Builder it is best to continue on to the Page Builder where we will design the interface of our live app through which we will add our data.